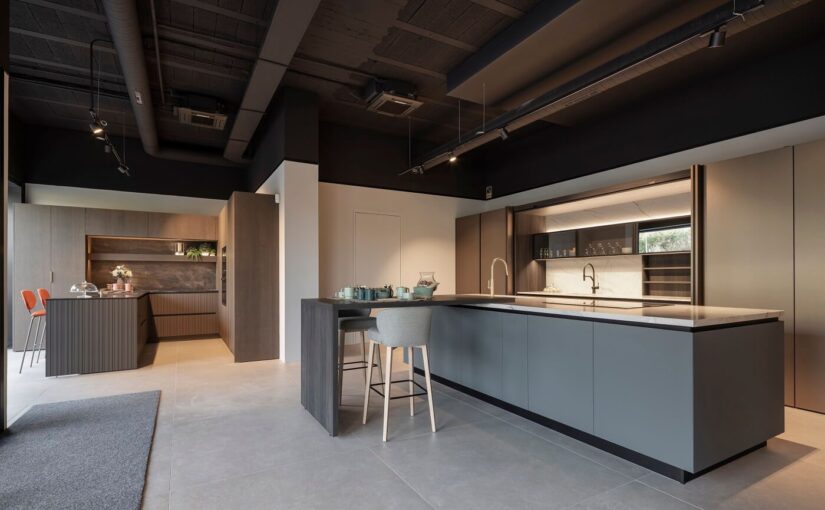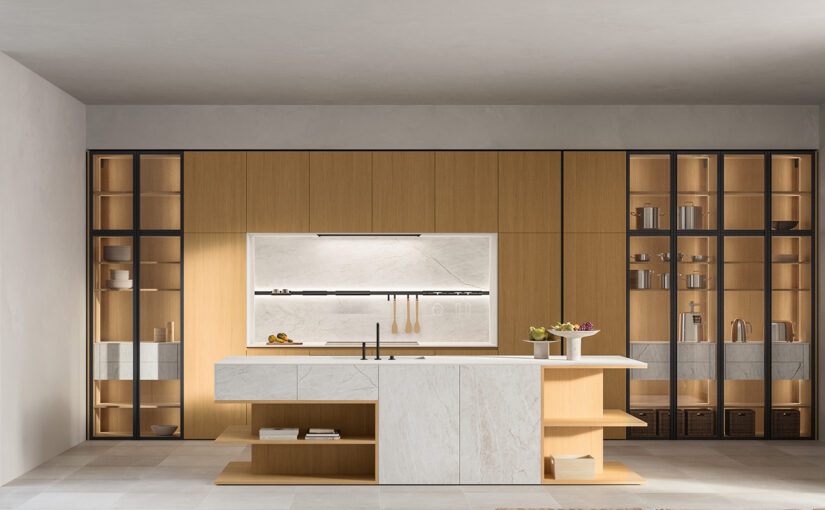
Best High-End Kitchen Appliance Brands: 2026 Roundup

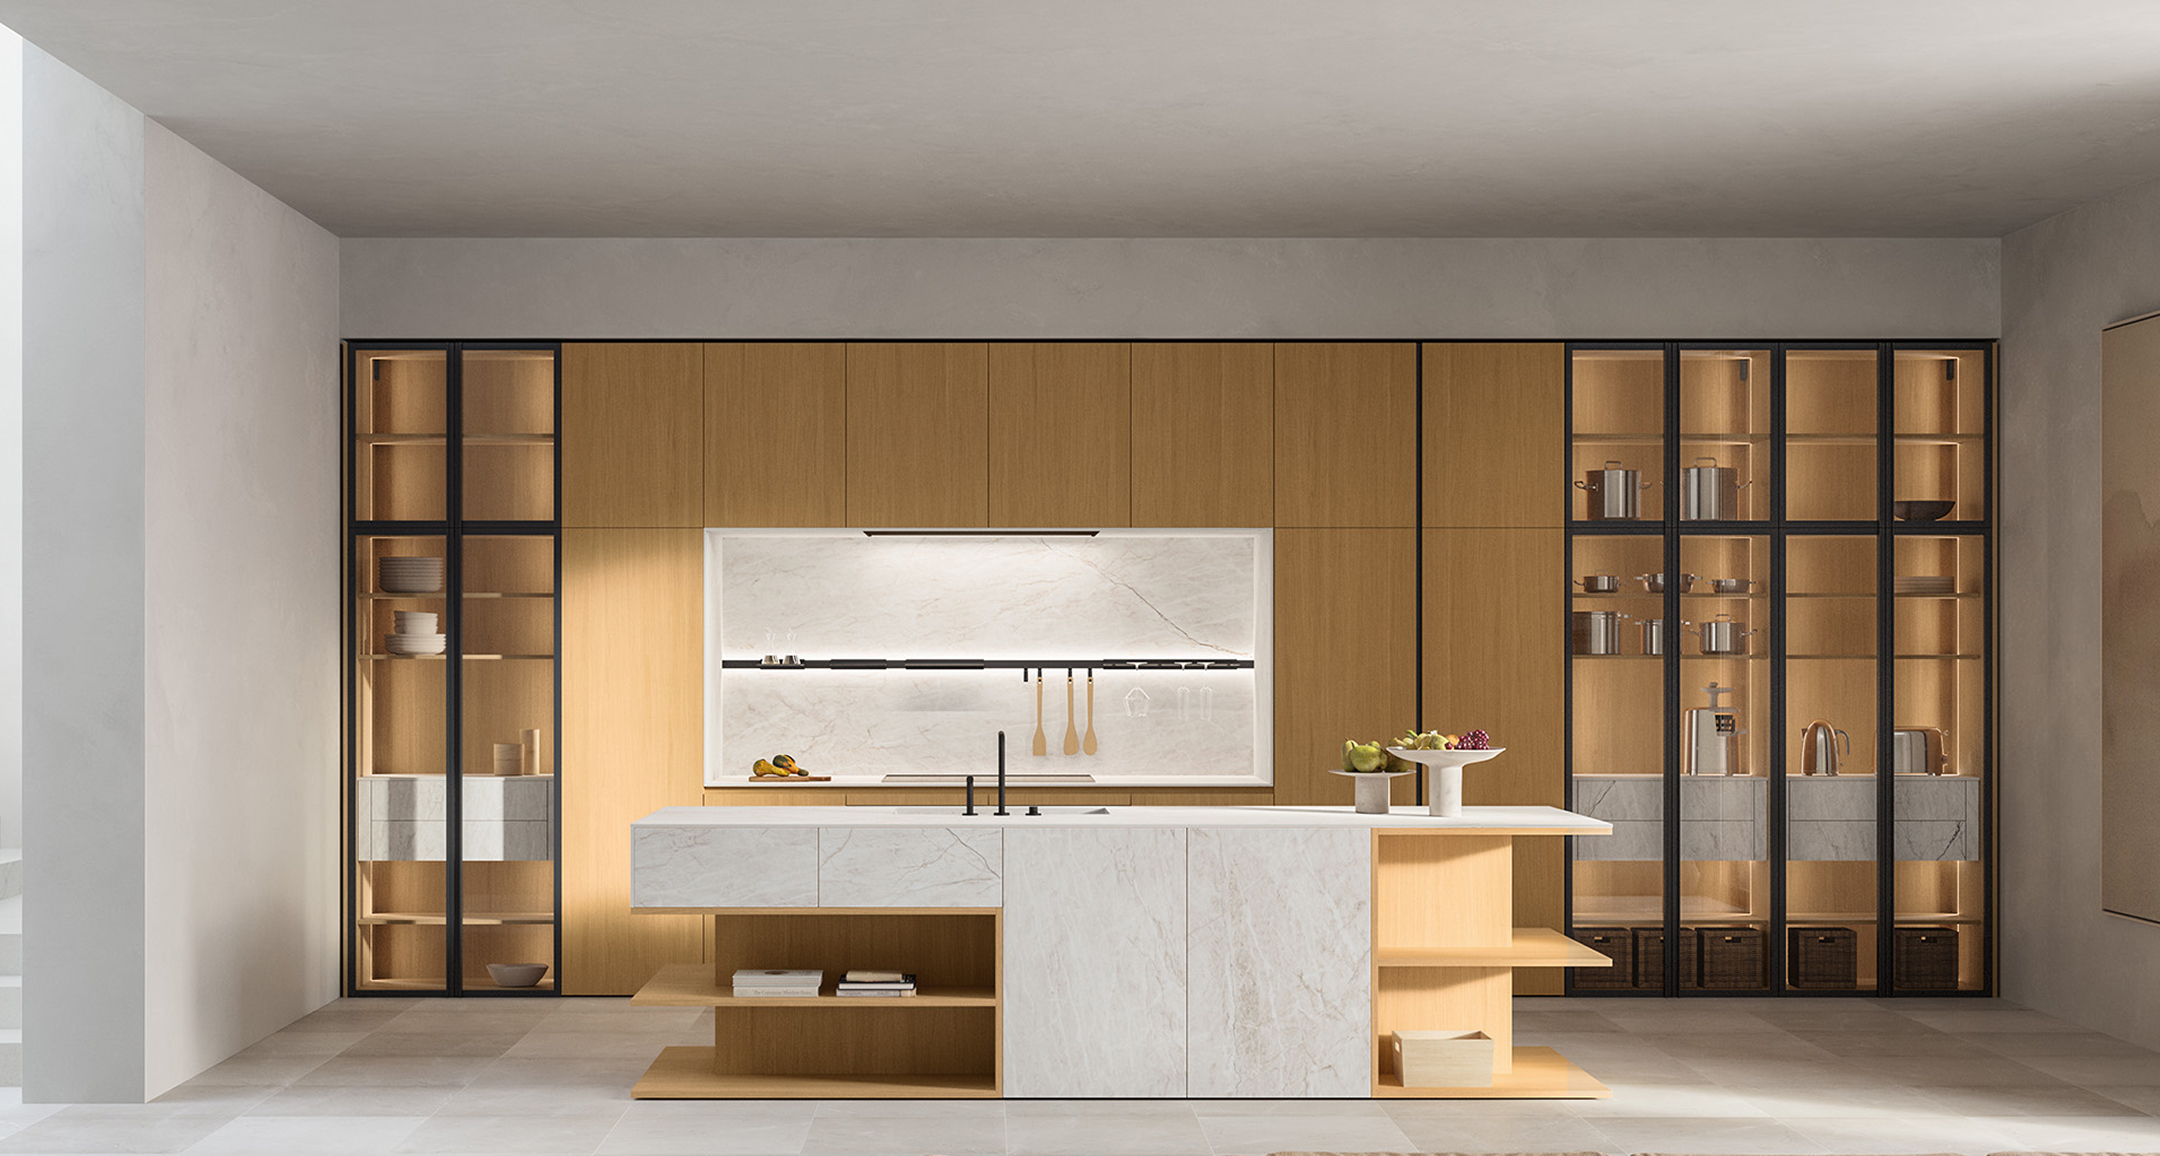
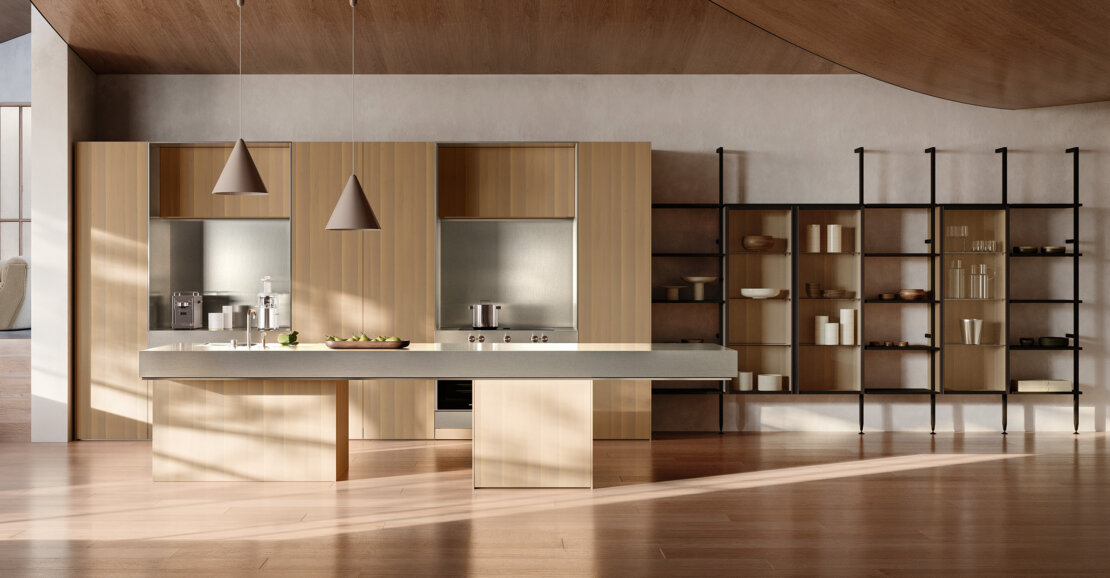
Outfitting a luxury kitchen used to mean picking the biggest stainless-steel range you could find. In 2026, it’s more nuanced. The defining idea this year is “quiet luxury” — professional-grade performance that hides in plain sight, integrated behind custom panels and flush with the cabinetry rather than shouting for attention. The best brands now pair commercial-level capability with refined, disappear-into-the-room design.

There’s no single “best” brand, because each one solves a different problem — refrigeration, precision cooking, quiet operation, or fully custom looks. Here’s a roundup of the names worth knowing this year, what each does best, and the trade-offs to keep in mind, followed by a short buyer’s guide.

Sub-Zero, Wolf & Cove — The American Icons

This family of brands is the reference point for many luxury kitchens, and for good reason. Sub-Zero leads in refrigeration: its dual-refrigeration system uses two separate compressors so fridge air stays cool and moist while freezer air stays cold and dry, preventing odour transfer, and its air-purification system (originally developed for NASA) scrubs ethylene gas to keep produce fresher longer. Wolf handles the cooking side with dual-stacked burners and convection ovens built for serious performance, while Cove rounds out the trio with ultra-quiet dishwashers. Many designers pair a Sub-Zero for cold with a Wolf for heat as a default high-end combination.

Miele — Engineering and Longevity

Miele is a pillar of the luxury market, known for building most components in-house and famously testing products to simulate 20 years of average household use. That obsession with durability, along with reliably flush, panel-ready integration for refrigeration and dishwashers, makes it a favourite for seamless, built-in kitchens. If long-term reliability and integrated design top your list, Miele consistently earns top marks.

Thermador — Innovation and Value

Thermador has been innovating in cooking for over a century, best known for its Star Burner (delivering more even flame distribution) and Freedom induction cooktops, plus flexible column refrigeration that lets you configure fridge and freezer columns separately. It’s frequently the value leader among premium brands thanks to strong package deals and rebates. The trade-offs: some wall ovens use single convection, and the digital interfaces can be less intuitive than rivals.

Gaggenau — Ultra-Luxury Statement Pieces

Tracing its roots to 17th-century Germany, Gaggenau is widely considered one of the most prestigious appliance brands in the world — a fixture in high-end residences globally. Its minimalist, Bauhaus-influenced design turns appliances into architectural details, from backlit control knobs to genuinely chef-level steam ovens with fine temperature control. The caveats: controls are more complex than Miele or Wolf, colour choices are limited, and it focuses on wall ovens and specialty appliances rather than pro-style ranges — all at a premium price.

BlueStar — Power and Customization

For homeowners who want a range that feels bespoke, BlueStar is among the most customizable brands available, offering a huge range of colours and trims plus flexible cooktop configurations (French top, grill, griddle). It’s built for cooking first, with very high-output burners and options like true convection, and refrigeration designed to match with all-stainless interiors. If searing, pan performance, and restaurant-level heat matter most, BlueStar is a standout.

Monogram — Modern Luxury with Smart Tech

GE’s luxury line, Monogram, blends craftsmanship with contemporary style — brass-accented ranges, column refrigerators, induction cooktops, and articulating digital displays — plus smart connectivity through the SmartHQ app. It delivers a refined, tailored look with modern-home features at a competitive price relative to the legacy luxury names, making it a strong choice for tech-forward, design-conscious kitchens.

La Cornue — The French Range as Centerpiece

If you want the range itself to be the focal point, La Cornue has handcrafted ranges in France since 1908. Its flagship Château line is built by a single craftsman per unit with dozens of custom colour and trim options, while the more accessible CornuFé brings the look in rich enamel colours with brass, chrome, or copper trim. It’s the closest thing to couture in the appliance world — a true statement piece for heritage and modern kitchens alike. (Lacanche offers a similarly elegant, slightly more understated French alternative.)

Worth Knowing: Dacor, Café & More

A few other names round out the field. Dacor (backed by Samsung) pairs sleek minimalist design with smart, Wi-Fi-enabled ovens and refrigerators and panel-ready options. Café (part of GE) is built around customizable finishes and hardware — matte black or white with copper, bronze, or brushed accents — for buyers who treat appliances as a design statement. At the more attainable end, ZLINE bridges mainstream and ultra-premium with professional-style features and finishes at lower prices, while ultra-luxury refrigeration specialist True and range maker AGA serve specific high-end niches.

How to Choose: A Quick Buyer’s Guide

With so many strong options, a few considerations narrow it down:

  • Suite vs. mix-and-match. Buying a full suite from one brand gives a cohesive look and often better package pricing and simpler warranties. Mixing lets you choose best-in-class for each category — a common approach is Sub-Zero for cold and Wolf or Miele for cooking.
  • Induction vs. gas. Induction is increasingly favoured in luxury remodels for its speed, safety, and precise control while keeping the kitchen cooler; gas remains the classic choice for those who want a visible flame and traditional techniques.
  • Integration. If you want appliances to disappear behind cabinet panels, prioritize brands engineered for flush, panel-ready fits — Sub-Zero and Miele are noted leaders here.
  • Budget. A full high-end appliance package typically starts around $25,000 and can climb well past $100,000 depending on brands and customization, so decide where to invest first.
  • Service network. Premium appliances need premium support; confirm there’s a strong local service and installation network before you commit.

The Bottom Line

The best high-end appliances in 2026 aren’t defined by a logo on the handle — they’re defined by how well a machine performs and how gracefully it integrates into your kitchen. Match the brand to how you actually cook, entertain, and use the space:

  • Sub-Zero, Wolf, and Miele anchor most luxury kitchens on refrigeration, cooking, and integration.
  • Gaggenau, La Cornue, and BlueStar deliver statement design and deep customization.
  • Thermador, Monogram, and value players offer premium performance at more accessible price points.

Planning a luxury kitchen around the right appliances? Book a consultation and our team will help you select and integrate the perfect suite — or Get a Quote to get started.
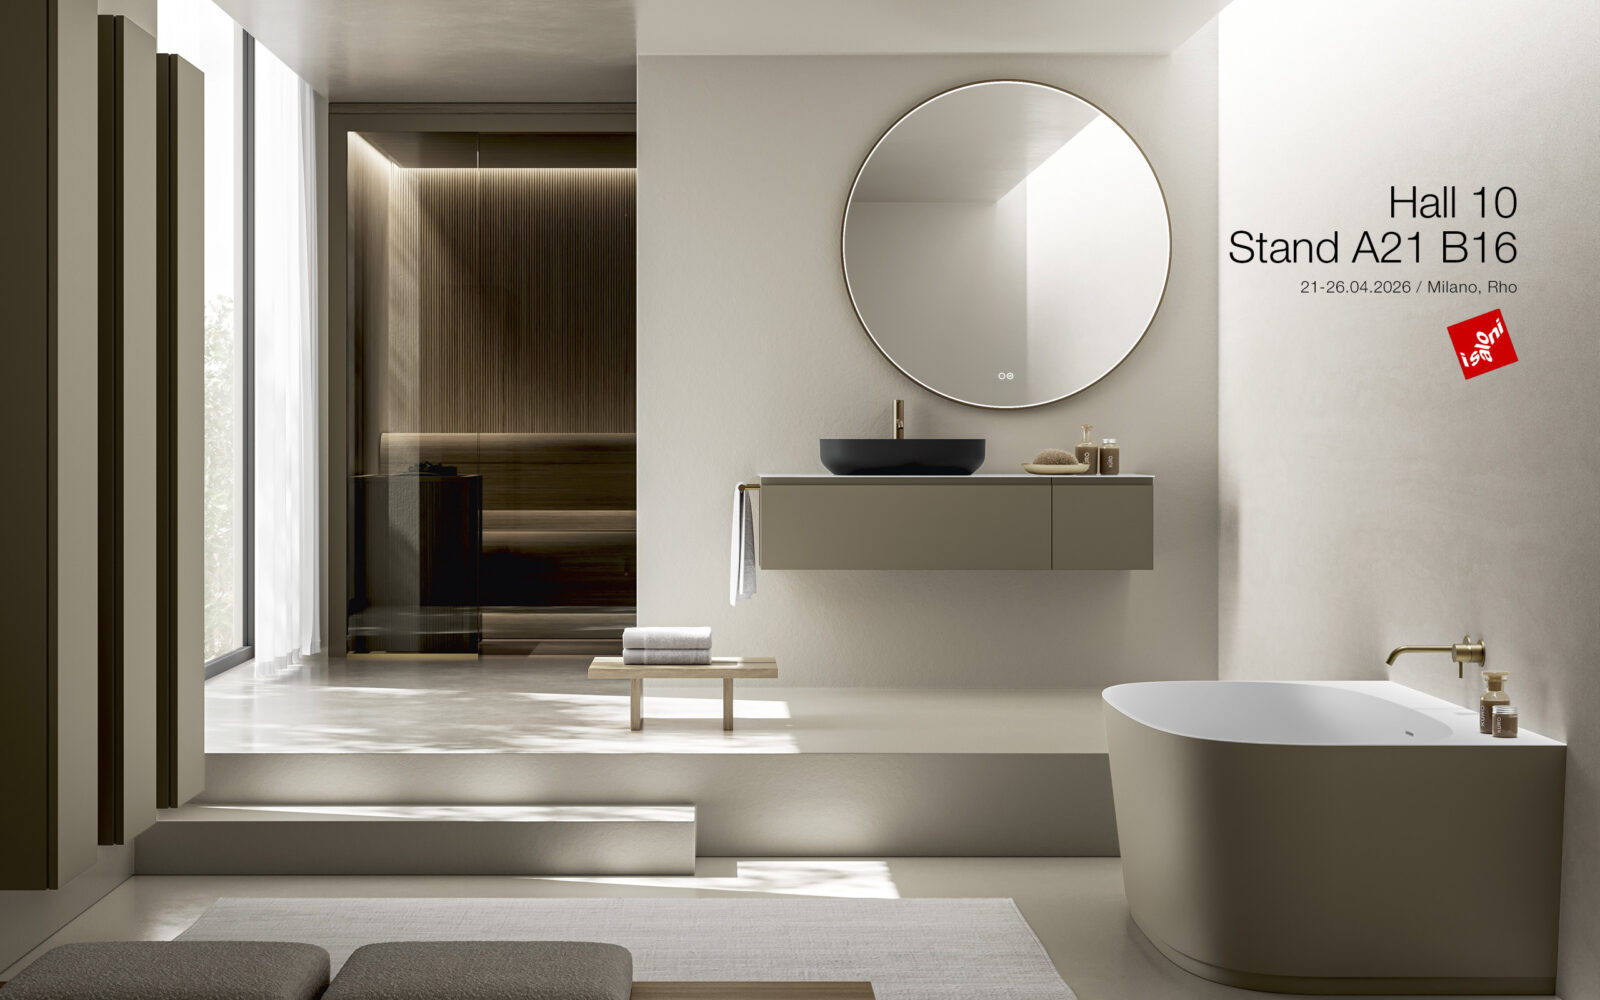
The Ultimate Guide to Buying European Kitchen Cabinets

European kitchen cabinets have gone from a niche import to the global benchmark for modern design. The sleek, seamless, storage-maximizing look that fills today’s inspiration feeds traces almost entirely back to German, Italian, and Scandinavian workshops. But “European cabinets” covers a lot of ground — different construction, materials, brands, and price points — and buying well means understanding what you’re actually paying for.

This guide walks through everything worth knowing before you invest: what makes European cabinets different, how they’re built, the materials and finishes to consider, and how to shop smart. Think of it as the briefing that turns a showroom visit from overwhelming into informed.

What Makes a Cabinet “European”

The defining feature is frameless construction. Traditional American cabinets use a face frame — a hardwood border on the front of the box that doors attach to. European cabinets skip it: doors and drawers mount directly to the cabinet box, creating a full-overlay front with almost no visible gaps. That single difference drives the whole look and much of the benefit.

Because there’s no frame narrowing the opening, frameless cabinets deliver up to around 15% more usable interior space, with wider drawers and easier access. The fronts sit flush against each other, producing the clean, uninterrupted plane that reads as unmistakably modern.

It’s also worth separating system from style. “German” and “Italian” describe the cabinet system — the engineering and build. “Scandinavian,” “French,” or “Mediterranean” describe the style — colours, finishes, and detailing. You can build a Scandinavian-looking kitchen on German cabinetry, which means you can choose engineering and aesthetics independently.

The Construction Details That Matter

With no face frame to lean on, frameless cabinets rely on thicker panels, reinforced backs, and precision hardware for strength — so build quality shows. A few things to check:

  • Box material. Engineered wood provides a stable base for frameless construction; plywood boxes generally cost more than particleboard or MDF-core and resist moisture better. Confirm exactly which panels are plywood rather than trusting a label.
  • Hardware. The “engine” of a European kitchen is its hinges, runners, and lift systems. Quality German hardware from names like Blum and Hettich is what delivers decades of silent, soft-close operation — and it’s worth prioritizing.
  • Precision. Frameless construction is less forgiving of out-of-square walls, so accurate installation by someone experienced with European systems matters more than with framed cabinets.

Materials and Finishes to Consider

European lines offer a wide finish range, and 2026 favours warmth and texture. Your main options:

  • High-gloss lacquer — layered and polished to a mirror finish, glamorous and light-reflecting, but shows fingerprints more readily.
  • Matte lacquer — soft, velvety, fingerprint-friendly, and dominant right now in warm neutrals like taupe and greige.
  • Natural wood veneer — real grain with better stability than solid wood across large fronts; walnut and smoked or roasted oak are surging, especially with sequence-matched grain.
  • Textured fronts — fluted and reeded surfaces add depth and craftsmanship without ornament.

Two-tone schemes — a darker wood base against warmer neutral uppers — remain the leading compositional strategy for adding depth.

German vs. Italian: Which System

If you’re choosing between the two great traditions, it comes down to priorities. German cabinetry leads with precision engineering, modularity, and technologically advanced hardware — ideal if you value ergonomics, longevity, and quiet, flawless performance. Italian cabinetry leads with artistry, material innovation, and bespoke flexibility — ideal if you want a design-forward, statement kitchen and freedom in finishes and dimensions. Both sit at the premium end; German often carries a higher starting price for its internal engineering, while Italian can offer strong design value and easier customization.

How to Shop Smart

A few practical steps separate a confident purchase from an expensive guess:

  • Work with a European specialist. Not every cabinet company builds true frameless construction; look for CNC precision and genuine European expertise.
  • Invest in the hardware. The daily experience — how a drawer glides and stops — lives in the hinges and runners, so don’t economize there.
  • Design the whole system. European cabinets look best when countertops, backsplash, lighting, and cabinetry are planned as one cohesive scheme.
  • See and touch before you buy. Showroom time reveals what a spec sheet can’t: the weight of a door, the silence of a drawer, the exactness of a gap.
  • Get real quotes. Pricing varies enormously with collection and customization, so compare quotes for your specific design rather than relying on averages.

The Bottom Line

European kitchen cabinets earn their reputation through a combination of smart construction, premium materials, and engineering you feel every day. Whether you lean German or Italian, gloss or matte, the throughline is the same — quiet quality built to last.

  • Frameless construction is the foundation — it drives the look, the storage, and the feel.
  • Hardware and box material decide longevity — prioritize both over surface flash.
  • Match system to your priorities and style to your taste — they’re separate choices, and you get to make both.

Ready to explore European cabinets for your kitchen? Book a consultation and our team will walk you through the systems, materials, and finishes in person — or Get a Quote to get started.
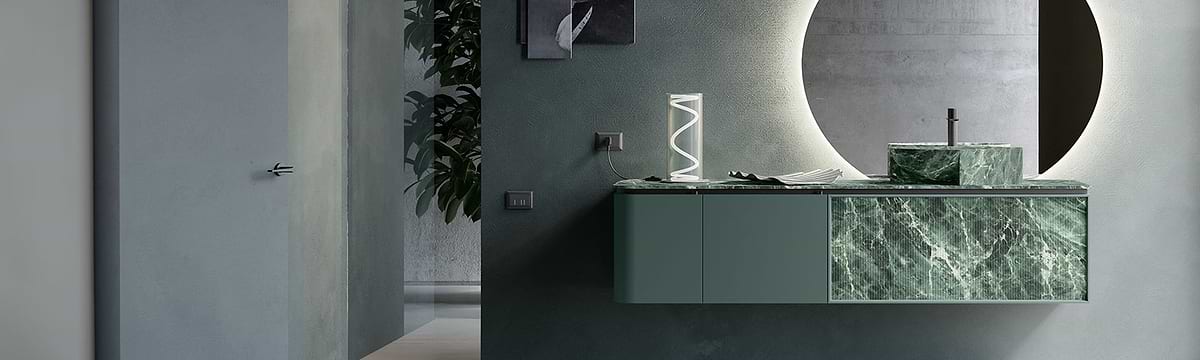
What to Ask a Kitchen Designer at Your First Meeting

That first meeting with a kitchen designer sets the tone for the entire project. It’s where a good designer learns how you live and where you figure out whether they’re the right partner for what may be one of the biggest investments in your home. The homeowners who get the most out of it are the ones who come prepared — with the right questions.

A quick note before the questions: come with a little homework done. Bring photos of your current kitchen, inspiration images of kitchens you love, rough measurements, a must-have list, and a budget range. With that in hand, here’s what to actually ask — grouped by what you’re trying to learn.

Questions About Their Experience and Fit

You’re vetting a professional as much as a design, so start there. Ask about their background, training, and any certifications — a certified kitchen designer has met standards set by the National Kitchen & Bath Association. Then dig into fit:

  • How long have you been designing kitchens, and what’s your area of specialization?
  • Can I see a portfolio of past projects — ideally in a style similar to what I want?
  • Can you share client references or testimonials?

A diverse portfolio signals the ability to adapt to different needs; references tell you how responsive they were and whether projects finished on time and on budget.

Questions About Process and Communication

How a designer works day to day matters as much as their talent. Clarify the workflow before you commit:

  • What are the steps from here to installation? (Many firms move from consultation to measurement to a 3D rendering to build.)
  • Will you provide 3D renderings so I can visualize the design?
  • How many rounds of revisions are included, and what’s the turnaround for changes?
  • How often will we communicate, and who is my point of contact?

Some designers stay in close touch throughout; others hand off once the concept is done. Knowing which upfront prevents mismatched expectations.

Questions About Budget and Fees

Money is where projects go sideways, so be direct — and be honest about your own numbers in return:

  • How does your fee structure work — flat fee, hourly, or is design included when I buy cabinetry?
  • Based on my wish list, what’s a realistic ballpark for a project like mine?
  • How do you help keep a project on budget, and how are change orders handled?

A good designer is transparent about cost and keeps your budget front of mind. Remember to fold the designer’s fee into your overall budget, not just the materials.

Questions About Your Space and How You Live

This is where a designer earns their value — translating how you actually use the kitchen into a functional plan. Expect them to ask, and be ready to discuss:

  • How can we maximize efficiency and storage in my specific layout?
  • How many people use the kitchen, and how do you cook and entertain?
  • How should the cabinets be organized — rollouts, dividers, dedicated zones?
  • What layout do you recommend, and why?

Sharing how you live — big family, avid baker, frequent host — is invaluable. The more honest you are about daily habits, the better the design will fit.

Questions About Materials, Timeline, and Installation

Finally, cover the practical details that shape the finished result:

  • What cabinet construction and materials do you recommend, and why? (Framed vs. frameless affects storage, cost, and look.)
  • What’s the realistic timeline, including design and manufacturing lead times?
  • Will you oversee installation, and who’s on site during the build?
  • Do you suggest any sustainable or eco-friendly options?

Lead times vary widely — stock cabinets arrive fast, custom can take months — so understanding the schedule early keeps the whole project realistic.

Walking In Prepared

The goal of the first meeting isn’t to have every answer; it’s to start a productive relationship and see whether this is the right person to bring your kitchen to life. A few reminders:

  • Do a little prep — inspiration photos, measurements, a must-have list, and a budget range make the conversation far more productive.
  • Be honest about budget and habits — a designer can only optimize for the life you actually describe.
  • Ask about process, not just aesthetics — communication, revisions, and timeline determine how the project feels start to finish.

Ready for that first conversation? Book a consultation with our design team and come with your questions — or Get a Quote to get started.

Small Kitchen Storage: 8 Smart Cabinet Solutions

A small kitchen doesn’t have to feel cramped — it just has to be smart. The difference between a compact kitchen that frustrates you daily and one that works beautifully almost always comes down to the cabinets: not how many you have, but how hard each one works.

The good news is that the same footprint can hold far more when every cabinet earns its keep. Here are eight cabinet solutions that turn wasted inches into real, usable storage, so your small kitchen feels like it doubled in size without moving a single wall.

1. Go Vertical with Full-Height Cabinets

The most overlooked space in any small kitchen is the air above your head. Cabinets that run all the way to the ceiling reclaim that dead zone for the things you reach for less often — special-occasion platters, seasonal items, backup supplies. As a bonus, they create a clean, built-in look and eliminate the dust-collecting gap on top.

2. Swap Lower Cabinets for Deep Drawers

Deep pot-and-pan drawers are one of the highest-impact upgrades in a small kitchen. Instead of crouching and reaching into a dark base cabinet, you pull the whole contents out and see everything at once. They swallow bulky pots, pans, and mixing bowls, and with soft-close runners and dividers they stay quiet and organized.

3. Conquer the Corners

Corners are where small-kitchen storage goes to die — unless you fit them out properly. Lazy Susans, swing-out trays, and specialized pull-out corner shelves turn an awkward dead angle into a genuine storage powerhouse, bringing items at the very back within easy reach instead of lost in the void.

4. Add Slim Pull-Out Cabinets

Those narrow gaps beside the fridge, oven, or counter run are prime territory. A slim vertical pull-out — just a few inches wide — becomes a full-height rack for spices, oils, bottles, or cleaning supplies. It uses space that would otherwise sit empty and keeps everything visible and reachable in one glide.

5. Build a Pull-Out Pantry

No room for a walk-in pantry? A tall pull-out pantry cabinet delivers much of the function in a fraction of the footprint. Multiple sliding shelves bring canned goods, dry staples, and spices out to you, making excellent use of vertical space in a narrow slot where a traditional pantry could never fit.

6. Claim the Toe-Kick

The recessed strip beneath your base cabinets is usually wasted — but it doesn’t have to be. Toe-kick drawers tuck into that hidden band at floor level, perfect for flat or infrequently used items like baking sheets, trays, placemats, and seasonal linens. It’s storage you didn’t know you had.

7. Work the Cabinet Doors and Interiors

The inside faces of cabinet doors are free real estate. Add racks, rails, or hooks for lids, cutting boards, foil, and small utensils, and fit interiors with adjustable shelves, stackable inserts, and drawer dividers. These low-cost additions multiply capacity inside cabinets you already have.

8. Choose a Storage-Smart Island or Cart

If your layout allows even a compact island or rolling cart, make it work double duty. Islands with drawers, cabinets, or open shelving beneath add both prep surface and storage, while a movable cart flexes in and out as needed — and in the tightest spaces, a fold-down or roll-out option tucks away entirely when you’re done.

Making Every Inch Count

The secret to small-kitchen storage isn’t cramming in more cabinets — it’s making each one accessible, visible, and purpose-built. A few guiding principles:

  • Reach up and down — full-height cabinets and toe-kick drawers capture space most kitchens ignore.
  • Pull out, don’t dig in — drawers, slide-outs, and corner mechanisms beat deep, dark cabinets every time.
  • Plan storage around your habits — store what you use most where you use it, and let the layout follow your daily flow.

Want a small kitchen that stores more and feels bigger? Book a consultation and our team will design cabinetry tailored to every inch of your space — or Get a Quote to get started.

7 Modern Kitchen Design Trends for 2026

The all-white, all-minimal kitchen had a good run. But if you’ve browsed kitchen inspiration lately, you’ve felt the shift: 2026 is warmer, smarter, and far more personal. The room is evolving from a pure workspace into a curated living environment — one that looks effortless and works even harder.

These are the seven trends shaping kitchens this year, drawn from what designers and the major industry reports are actually seeing homeowners choose. Whether you’re planning a full remodel or a refresh, they’re a useful map of where kitchen design is heading — and which ideas are built to last rather than date.

1. Warm, Nature-Grounded Palettes

The single biggest move of 2026 is away from cool, sterile whites and grays toward warmth and natural texture. Warm neutrals — mushroom, taupe, greige — now dominate, joined by rich wood tones and soft, earthy greens. Industry surveys report that wood-tone cabinetry has even edged out white as the leading finish for the first time in years, with medium and light oak leading the way. The effect is a kitchen that feels calm, organic, and inviting rather than clinical.

2. Two-Tone and Confident Color

Neutrals aren’t going anywhere, but 2026 pairs them with real color. Two-tone schemes — a darker base in navy, forest green, or matte black beneath lighter or wood-toned uppers — add depth and let you introduce a bolder shade in a controlled dose. Designers describe homeowners as newly unafraid of color, often anchoring it on the island so the room reads layered and intentional rather than loud.

3. Kitchen Zoning and Hardworking Pantries

The classic work triangle is giving way to “zoning”: dividing the kitchen into defined cooking, prep, and cleanup areas, often with task-specific stations like coffee bars, beverage centres, and baking zones. Storage has become the foundation of this approach — walk-in pantries and butler’s pantries are surging as fully functional prep spaces with secondary sinks and small appliances, keeping the main kitchen clean and clutter-free.

4. The Island as Command Center

The island is no longer just a prep surface; it’s the hub of the home. In 2026 that means larger islands with integrated appliances (dishwashers, microwaves, even secondary sinks), built-in seating, and generous storage. Waterfall countertop edges remain popular, and many homeowners now choose a contrasting counter colour or material for the island so it stands as the room’s focal point.

5. Layered, Intelligent Lighting

A single central fixture no longer cuts it. The defining lighting trend is layering: task light over prep zones, ambient light for the room, and accent light to highlight materials — often on separate controls per zone. Tunable systems shift color temperature and intensity to match the activity, motion sensors trigger under-cabinet strips, and sculptural pendants in warm metals like aged brass double as statement pieces above the island.

6. Integrated, Handleless, Architectural

The clean-lined European influence continues to reshape the room: handleless fronts, push-to-open and touch-latch mechanisms, and full-height cabinetry that runs to the ceiling. Appliances increasingly disappear behind matching panels, and refrigeration sits flush and integrated. The goal is a seamless facade where storage becomes architecture and the kitchen blends into the surrounding living space rather than announcing itself.

7. Smart Tech and Wellness by Design

Technology in 2026 is less about flash and more about function. Induction cooktops are gaining ground for their speed, precision, and safety, while smart refrigerators and ovens offer adjustable temperature zones, remote monitoring, and precise controls. Alongside the tech, a wellness and age-in-place sensibility is growing — pull-out cabinets, wider drawer pulls, additional lighting, non-slip flooring, and healthier, natural materials — so kitchens support how people want to live for years to come.

Putting It Together

The throughline of 2026 is warm minimalism: clean, uncluttered spaces made inviting through natural materials, thoughtful color, and technology that works quietly in the background. A few principles to guide your choices:

  • Lead with warmth and texture — wood tones, warm neutrals, and natural stone read current and age gracefully.
  • Make the island and storage work harder — they carry both function and style.
  • Choose trends that improve daily life, not just photos; the ones that last are the ones that make the kitchen easier to live in.

Want to bring these 2026 trends into your kitchen? Book a consultation and our team will help you translate the looks you love into a cohesive design — or Get a Quote to get started.

2026 Brand Watch: Doimo Cucine, Stocco, and Cerasa Expand Their Reach

Not every piece of brand news is about a flashy new product. Sometimes the bigger story is where a brand is heading — new markets, new collaborators, new categories. This year, three Italian names on our radar all made moves worth flagging: Doimo Cucine on the global stage, Stocco in the bathroom, and Cerasa crossing the Channel for the first time.

Doimo Cucine: A Brand Refresh and a Global Push

Doimo Cucine closed out its 2025 fiscal year with real momentum, and 2026 is shaping up to be its biggest expansion push yet. The Veneto-based kitchen maker has opened new showrooms in Casablanca and near Cannes, with a flagship store in Panama City planned for later this year. Closer to home, the brand continues to grow in the UK and France, with a new Paris location on the way, alongside renewed activity in Belgium, Croatia, Tirana, and Cyprus.

Doimo Cucine showroom expansion 2026
A Doimo Cucine “Cocina Boutique” showroom, part of the brand’s 2026 international expansion. Photo courtesy of Doimo Cucine.

Spain remains a particular focus, with recent openings in Lorca, Motril, Vilanova i la Geltrú near Barcelona, and A Coruña — all through local design partners aligned with the brand’s aesthetic. More than 30% of the company’s current initiatives are dedicated to upgrading existing Spanish showrooms toward a more premium positioning.

Behind the scenes, the brand’s design direction has been shaped since 2025 by a collaboration with acclaimed designer Ferruccio Laviani, whose Milan studio now guides Doimo’s strategic vision — both the compositional logic of the kitchens themselves and the visual language used to present them. That partnership is behind 2026’s brand refresh, visible across the company’s communications and digital presence, as well as the new Impronta collection, Laviani’s own translation of Doimo’s kitchen philosophy into material, function, and identity.

Stocco: Softer Forms for the 2026 Bathroom

At Salone del Mobile 2026, bathroom furniture specialist Stocco previewed a collection built around what the brand calls “design in motion” — not nostalgic, but reflective, expressed through soft forms, refined textures, and warm color palettes.

Stocco Salone del Bagno 2026 bathroom collection
Stocco’s 2026 bathroom collection, presented at Salone del Mobile. Photo courtesy of Stocco.

The standout update is to two of Stocco’s core systems, Over and Stilo, both now available with new curved end units that soften the geometry of a bathroom composition. The Fit washbasin platform expands too, with compact, minimalist-friendly configurations aimed at smaller spaces without sacrificing elegance. Elsewhere, the Loop collection gains back-lacquered glass drawer fronts across Stocco’s full color range, and washbasins and bathtubs are now available in that same palette for a fully coordinated look. A new Fly handle rounds out the opening-system options, and curved shapes join the brand’s backlit mirror lineup.

The overall direction: intense, warm, deep tones and softened geometry, continuing a broader move away from hard edges across bathroom and kitchen design alike.

Cerasa: A UK Debut for Des Evolution

Italian bathroom furniture maker Cerasa, in business for more than 40 years, has brought its Des Evolution collection to the UK for the first time through a first-to-market launch with retailer C.P. Hart. Designed by Stefano Spessotto, the range is built around flexibility: vanities are available with an integrated basin, or paired with either the deck-mounted Zefiro or EOS basin — both of which are also offered as freestanding pieces. Separate storage units and mirrors round out the composition options.

Cerasa Des Evolution bathroom collection UK launch
Cerasa’s Des Evolution collection, launched in the UK with C.P. Hart. Photo courtesy of Cerasa / C.P. Hart.

Finish choice is where Des Evolution really stretches: more than 80 options are available, including matte lacquers and a striking Resina Paint and Stone Deckblend textured resin designed to closely mimic natural stone. It’s a strong example of how much visual range a single bathroom furniture system can now offer without leaving the same design family.

The Common Thread

Different categories, same underlying story: established Italian brands are actively investing in reach, whether that’s new geography (Doimo), new material softness (Stocco), or new markets entirely (Cerasa). For anyone planning a kitchen or bathroom renovation, that kind of sustained investment is a good signal — it usually means more design partners, more finish choices, and more support behind the products you’re specifying.

Want to see how these collections translate into a real project? Book a consultation with our team — or Get a Quote to get started on your kitchen or bathroom.

Kitchen Remodel Checklist: 12 Steps Before You Start

The most expensive mistakes in a kitchen remodel happen before the first cabinet is ever removed. They happen in the planning — or the lack of it. Get the groundwork right and everything downstream runs smoother, cheaper, and faster.

Think of this as your pre-demolition checklist: twelve things to lock down before any tools come out. Work through them in order and you’ll walk into your project with a plan a contractor can actually build, instead of a Pinterest board and a hopeful budget.

1. Pinpoint What’s Actually Wrong

Before inspiration, start with frustration. Spend a few days noticing exactly how your current kitchen fails you — where you run out of counter space, where two people collide, what you avoid doing because it’s a hassle. That list of real problems becomes your priority list, and it will guide every decision that follows far better than a magazine spread.

2. Define Your Scope Honestly

Decide which of three projects you’re really doing: a cosmetic update (paint, hardware, maybe countertops on the existing layout), a mid-range remodel (new cabinets, counters, appliances, flooring), or a full gut renovation (walls, plumbing, and electrical all move). Each carries completely different permits, trades, timelines, and costs, so naming yours upfront prevents painful surprises later.

3. Set a Real Number — Plus a Contingency

Pick a single figure you’re genuinely comfortable spending, then divide it by category. Cabinets typically claim the largest share, often 30–40% of the total, with countertops, appliances, and labour following. Crucially, hold back 10–20% as a contingency; behind old walls there are almost always a few surprises, and that buffer keeps one of them from stalling the whole job.

4. Measure Everything Precisely

Accurate measurements are the foundation every other decision rests on. Record the room dimensions, ceiling height, window and door positions, and the locations of existing plumbing, gas, and electrical. A layout built on guesswork leads to reordered cabinets and blown timelines.

5. Resolve the Layout

The layout determines how easily you move between cooking, prepping, and cleaning. Weigh the classic options — U-shape, L-shape, galley, single-wall — against your space and habits, and consider “zoning” the room into distinct cooking, prep, and cleanup areas. Once the layout is approved, changes get expensive, so settle it now.

6. Choose Appliances First

This is the step most people get backwards. Appliances drive cabinet dimensions, panel configurations, ventilation, and electrical needs, so they must be selected before cabinetry is finalized. Locking them in early prevents a cascade of redesigns down the line.

7. Select Your Cabinets and Materials

With appliances set, choose cabinets — and decide between stock, semi-custom, and custom, since lead times range from a few weeks to several months. Then finalize countertops, backsplash, flooring, and hardware. The single biggest cause of stalled projects is material decisions made too late, so aim to have everything chosen, in writing, before work begins.

8. Sort Out Permits

Most localities require permits for plumbing, gas, electrical, or structural work, so check your local building codes early. If you’re hiring a contractor, confirm they’ll handle permits and inspections; if you’re managing it yourself, factor the approval timeline into your schedule.

9. Vet and Hire Your Team

Review at least three contractor quotes to understand true local pricing — labour in particular is routinely underestimated. Check references and past work, confirm the contract spells out scope, payment schedule, deadlines, and warranty, and be cautious of unusually low bids or missing references.

10. Build a Realistic Timeline

Set expectations before you start. The design and selection phase alone can span several months, and once construction begins most remodels run 6–12 weeks — longer for structural work. Map the sequence (demolition, rough-in, inspections, drywall, flooring, cabinets, countertop templating, then finishes) and add a buffer for supply-chain delays, especially on custom or imported items.

11. Plan Your Temporary Kitchen

A remodel disrupts daily life more than people expect. Set up a temporary kitchen with a microwave, kettle, and mini-fridge, prep some meals ahead, and keep disposable dishes handy. Deciding this now saves weeks of daily frustration later.

12. Confirm the Decision-Maker and Communication Plan

Agree on who signs off on choices, how often you’ll check in with your contractor, and what the milestones are — demolition complete, cabinets installed, final punch list. Inspect delivered materials the moment they arrive so anything wrong can be reordered before it holds up the build.

Before You Pick Up a Hammer

Run through these twelve steps and you’ll have replaced guesswork with a plan. A few principles tie it all together:

  • Plan before you design, design before you order. Respecting the sequence prevents the most costly rework.
  • Cabinets and layout are your foundation — give them the most attention and the biggest share of the budget.
  • Keep a contingency and a buffer, and communicate constantly so small issues never become big ones.

Ready to move from checklist to kitchen? Book a consultation and our team will help you align layout, budget, and materials before anything is ordered — or Get a Quote to get started.

Custom vs. Semi-Custom Cabinets: Which Is Right for You

Cabinets can make or break a kitchen remodel — and they usually swallow the biggest single slice of the budget, often 30 to 40 percent of the total. So when the moment comes to choose between custom and semi-custom cabinetry, it’s worth understanding exactly what separates them before you commit. The difference isn’t really about quality. It’s about flexibility, timeline, and how much of each you actually need.

Here’s a clear, practical breakdown of how the two compare, and how to tell which one fits your kitchen, your budget, and the way you live.

What “Semi-Custom” Actually Means

Semi-custom cabinets sit between off-the-shelf stock and fully bespoke cabinetry. They’re built on standard factory box sizes but allow real modifications — adjustable widths, heights, and depths, plus a broad range of door styles, finishes, and interior storage options. Instead of building from scratch, the manufacturer produces cabinet lines with structured flexibility.

For most kitchens, that flexibility is more than enough. Semi-custom lines solve the majority of real-world layout challenges, especially in homes with standard 8- to 9-foot ceilings and conventional footprints. Because they’re produced within established manufacturing programs, they also tend to arrive on predictable timelines.

What “Custom” Actually Means

Custom cabinets are built entirely from scratch, with every dimension, panel, and profile specified and cut to order — often by a regional or local shop using your chosen hardwoods, joinery, and finishes. There’s no production menu. This is where custom shines: unusual layouts, non-standard ceiling heights, historic homes, or a design vision that standard systems simply can’t accommodate.

That freedom comes with trade-offs in cost and time, which is why custom makes the most sense when your layout or design genuinely demands it — rather than when you’re paying for flexibility you won’t end up using.

Cost: The Honest Numbers

Pricing varies widely by region, materials, and finish, so treat these as general ranges rather than quotes. Broadly, semi-custom cabinets tend to run roughly $200–$650 per linear foot, while custom typically starts around $800 per linear foot and climbs from there depending on complexity. Paint usually costs more than stain, and plywood boxes generally cost more than particleboard or MDF-core boxes across every tier.

One widely cited rule of thumb: semi-custom can deliver something like 90% of custom’s functionality at a meaningfully lower cost, which is a big part of why it dominates the mid-range market. But there’s an important catch — stack enough modifications, oversized units, custom paint colours, and decorative end panels onto a semi-custom order and the total can creep close to a custom quote without delivering custom’s dimensional precision. When your modification list gets heavy, it’s worth requesting a parallel custom quote to compare.

Lead Time: How Long You’ll Wait

Timeline often becomes the deciding factor, especially when you’re coordinating contractors and deliveries. As a general guide, semi-custom cabinets commonly take around 4–8 weeks to produce, while custom cabinets frequently run 8–16 weeks or more — and can stretch further when matching adjacent rooms, vintage finishes, or specialty wood species.

That said, ranges vary by manufacturer. Some streamlined factory-direct custom lines keep timelines competitive, while a heavily modified semi-custom order can take longer than expected. Rather than assuming one tier is always faster, confirm the actual production window for the specific line you’re considering.

Tier Is Not the Same as Quality

Here’s a point that confuses a lot of buyers: the tier tells you about flexibility and lead time first, not automatically about quality. A well-made semi-custom line can outperform a custom shop on durability if that shop cuts corners on materials — and a high-end stock line can use the same hinge hardware as a mid-tier semi-custom box.

Quality is decided by the specifications inside whichever tier you choose: the box material, the joinery, the drawer runners, the finish. Two quotes at the same per-foot price can deliver very different finished kitchens, so always confirm exactly what’s in the box rather than trusting the label.

How to Decide

The scope and shape of your kitchen usually answer the question before the price quote does. A few guidelines:

  • Choose semi-custom if your kitchen has a fairly standard layout, you want a wide range of door styles and finishes, and you need only one or two non-standard dimensions. This is the sweet spot for most primary-residence remodels — strong design flexibility and high-quality construction on a faster, more predictable timeline.
  • Choose custom if your layout is genuinely unusual, your ceilings are non-standard, you’re matching a historic home, or your design vision can’t be achieved within a standard system. Custom delivers a perfect fit and one-of-a-kind results when the room truly requires it.
  • Get parallel quotes whenever your semi-custom modification list is long — the comparison often reveals that custom is closer in price than you assumed.

Both options can add real value to your home when they’re done well. What matters most is the quality of materials, how well the layout functions, and how cohesive the finished kitchen feels. Working with a designer early makes this a data-driven decision rather than an aspirational one — the actual constraints of your room will point you toward the right tier.

Trying to decide which tier fits your kitchen? Book a consultation and we’ll assess your layout and priorities to find the right balance of flexibility, timeline, and budget — or Get a Quote to get started.

Italian Kitchen Watch: Arrital and Binova Unveil Their 2026 Vision

Milan Design Week has a way of resetting the conversation for Italian kitchen brands, and this year two names on our radar used it to make a genuinely bigger point: the kitchen isn’t a room anymore, it’s the anchor of the whole home. Here’s what Arrital and Binova just showed the world, and why it matters if you’re planning your own kitchen.

Arrital: From Kitchen System to Home Ecosystem

At Milan Design Week 2026, Arrital took its Ak Project kitchen system somewhere new. Rather than presenting another collection of standalone pieces, the brand unveiled what it calls a “home ecosystem” — a cohesive language that carries the kitchen’s architecture into the living room, storage, and even outdoor spaces.

Arrital Milan Design Week 2026 kitchen and living ecosystem
Arrital’s 2026 home ecosystem, unveiled at Milan Design Week. Photo courtesy of Arrital.

The kitchen itself leans further into an architectural feel this year: clean volumes, seamless surfaces, and 45-degree joints give Ak Project an almost monolithic presence that organizes a room rather than simply filling it. Storage takes on a new role too. New pieces like Index, a flowing bookshelf-meets-display system, and the Circle sideboard extend that same visual language into the living area, while the Modus table balances a light, airy profile with real material presence.

A few details stood out to us:

  • Secto, a modular, interchangeable partition with a slatted structure, keeps rooms open and connected while still defining separate zones — and it can be finished to match Arrital’s kitchen, living, or bathroom lines.
  • The Pass System door offers an elegant way to divide spaces without losing flow between them.
  • Outdoors, the new Solaria collection and its Ombralux shade accessory extend Arrital’s design language beyond the four walls entirely, making outdoor living usable and dynamic through the day.

The throughline across all of it: storage and connection are no longer afterthoughts. They’re treated as design elements in their own right, coordinated down to interior and exterior finishes.

Binova: Softer Volumes, One Continuous Home

Binova’s 2026 catalogue makes a similar leap, moving the kitchen out of isolation and into what the brand describes as a true “living continuum” — a single, coherent scheme that flows from the kitchen through the rest of the day zone.

Binova Bluna plus Zen kitchen composition 2026
Binova’s Bluna + Zen composition, presented at Salone del Mobile 2026. Photo courtesy of Binova.

The headline pieces are reworked versions of two Binova favorites, Bluna and Balance, both softened with new curved end units that round off what used to be sharp corners. In the Bluna project shown at Salone del Mobile, a striking island in Ebano Makassar wood-effect composite is framed by twin curved volumes and finished with Stone handles in Breccia Imperiale-textured grès — a material and handle pairing designed to feel sculptural rather than purely functional. A parallel Bluna + Zen composition introduces glass display cabinets integrated directly into the base units for the first time, a detail previously reserved for tall storage only.

Binova also brought real material innovation to the table: a renewed range of composite woods, an acrylic glass-effect laminate that’s picked up multiple design awards, and a new acid-etched glass finish for cabinet doors that mimics the look of raindrops running down a windowpane. And in a notable first for the brand, Binova unveiled its debut line of non-kitchen storage systems — wardrobes and closets built on the same design language, signaling the brand’s ambitions well beyond the kitchen.

Why This Matters for Your Kitchen

Both brands are pointing at the same shift: the kitchen is increasingly designed as one continuous statement with the rest of the home, not a room that stops at its own doorway. If you’re planning a renovation, that’s a useful cue — matching finishes, storage logic, and material language across the kitchen and adjoining living space is what reads as considered, not incidental, in 2026.

It’s also a reminder that the details worth asking about aren’t just door colors and countertop stone. Ask how storage is designed to connect spaces, whether curved or softened volumes are available in the lines you’re considering, and what material innovations (like acid-etched glass or acrylic laminates) might be worth specifying.

Curious how these ideas could translate into your own kitchen? Book a consultation with our design team to explore European systems like these in person — or Get a Quote to get started.

How to Plan a Kitchen Remodel: A Step-by-Step Guide

Most kitchen remodel horror stories don’t start with a bad contractor or a faulty appliance. They start on paper — or rather, with the planning that never happened. The kitchens that turn out beautifully are almost always the ones where the design, the budget, and the build were lined up before anything was ordered.

The good news is that a kitchen remodel follows a fixed logic. Certain decisions unlock others, and once you respect the order, the whole project moves with far less friction. This guide walks through that sequence step by step, so you can plan with confidence instead of guesswork.

Step 1: Start With Your Frustrations, Not a Pinterest Board

Before you look at a single tile sample, spend a few days paying attention to how your current kitchen actually fails you. Where do you run out of counter space? Where do traffic jams happen? What do you avoid doing because the layout makes it harder than it should be?

Write it down. That frustration list becomes your priority list — it tells you where to spend money first and where you can compromise. A kitchen designed around your real daily problems will serve you far better than one built around what looked good in a magazine. Clarify the single most important thing the remodel is solving: storage, flow, seating, light, or resale value.

Step 2: Define Your Scope

There are three clearly different scopes, and confusing them is where budgets go wrong:

  • Cosmetic update — same layout, same cabinets, same plumbing; new paint, hardware, and perhaps countertops.
  • Mid-range remodel — new cabinets, countertops, appliances, and flooring, possibly with minor layout tweaks but no major structural work.
  • Full gut renovation — walls come down, plumbing and electrical move, and everything is replaced.

Each scope carries a different set of permits, trades, timelines, and budget conversations. Naming yours honestly at the start prevents a cosmetic budget from colliding with gut-renovation dreams.

Step 3: Set a Real Budget (and a Contingency)

Set a single number you’re genuinely comfortable spending — not a vague range — then split it by category. Cabinets typically consume the largest share of a kitchen budget, often around 30–40% of the total, followed by countertops, appliances, and labour, which alone can run 20–30%.

The rule every professional repeats: set aside 10–20% of your budget as a contingency for surprises. Behind old walls there are almost always a few, and a buffer keeps a hidden plumbing issue from derailing the whole project. Reviewing at least three contractor quotes helps you understand true local costs, especially for labour, which homeowners routinely underestimate.

Step 4: Nail the Layout

The layout is the backbone of the whole remodel — it determines how easily you move between cooking, prepping, and cleaning zones. Take precise measurements and plan where the sink, cooktop, and refrigerator will sit. Many designers now favour “zoning” the kitchen into cooking, prep, and cleanup areas rather than relying solely on the classic work triangle.

Common layouts to weigh include the U-shape (generous counter space, efficient for serious cooks), the L-shape (versatile, works in most sizes and pairs well with an island), and galley or single-wall arrangements for tighter footprints. Once the layout is approved, changes become expensive — so resolve it fully before moving on.

Step 5: Get the Decision Sequence Right

This is the step most homeowners skip, and it causes more delays than anything else. Decisions have to happen in a specific order because each one locks in the next:

  1. Appliances first. They drive cabinet dimensions, panel configurations, ventilation, and electrical planning, so they must be selected before cabinetry is finalized.
  2. Cabinetry next, designed around the chosen appliances.
  3. Countertops after cabinets — they’re templated to fit once the cabinets are installed, a step that can’t be rushed.
  4. Backsplash, lighting, and fixtures last.

Finalize every material choice in writing before work begins. The single biggest cause of stalled projects is decisions made too late.

Step 6: Handle Permits and Choose Your Team

Most localities require permits for work involving plumbing, gas, electrical, or structural changes, so check your local building codes early. A good contractor manages permits, inspections, and code compliance for you — one reason to vet carefully. Confirm the contract includes a clear scope, payment schedule, deadlines, and warranty terms, and be wary of unusually low bids or a lack of references.

Step 7: Understand the Timeline

Set expectations realistically. The design phase alone — meetings, drawings, and selections — can take several months, and Rebecca G. Lindquist, a kitchen and bath designer, notes there’s often three to six months between final design and a finished kitchen. Once construction starts, most remodels run 6–12 weeks, with larger structural projects taking longer.

The typical build sequence runs: demolition, then rough-in work (framing, plumbing, electrical) and inspections, then drywall, flooring, cabinet installation, countertop templating and install (1–2 weeks after cabinets go in), and finally backsplash, appliances, lighting, and the punch list. Build a buffer into your schedule for supply-chain delays, especially on custom or imported materials.

Step 8: Plan for Life During the Remodel

A kitchen remodel disrupts daily life more than people expect. Set up a temporary kitchen with a microwave, kettle, and mini-fridge; prep some meals ahead; and keep disposable dishes handy. Agree on milestones with your contractor — demolition complete, cabinets installed, final touches — and ask for regular updates. Inspect delivered materials as soon as they arrive so any wrong or damaged items can be reordered before they hold up the build.

Bringing It Together

A successful kitchen remodel really comes down to three habits: understanding your own priorities, respecting the decision sequence, and building in buffers for both time and money. Get those right and the project moves from plan to installation with far fewer surprises.

  • Plan before you design; design before you order. Sequence is everything.
  • Cabinets and layout are your foundation — invest your attention there first.
  • Keep a 10–20% contingency and a realistic timeline, and communicate constantly with your team.

Ready to turn a plan into a kitchen? Book a consultation and our team will help you align layout, budget, and materials before a single cabinet is ordered — or Get a Quote to get started.